Detailed instructions on how to install WordPress on your cPanel web hosting account. Follow these guidelines if you want to perform a new, manual installation of the latest WordPress version.
Follow these steps to install WordPress manually:
- Step 1: Create a MySQL Database for WordPress to use
- Step 2: Download the WordPress installation package
- Step 3: Upload the WordPress files to your server
- Step 4: Go through the installation process
Step 1: Create a MySQL Database for WordPress to use
- Login to your cPanel
- Select "MySQL Database Wizard"
![]()
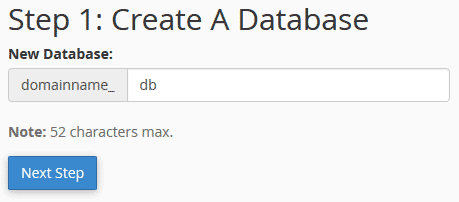
- Choose the name for zour new database
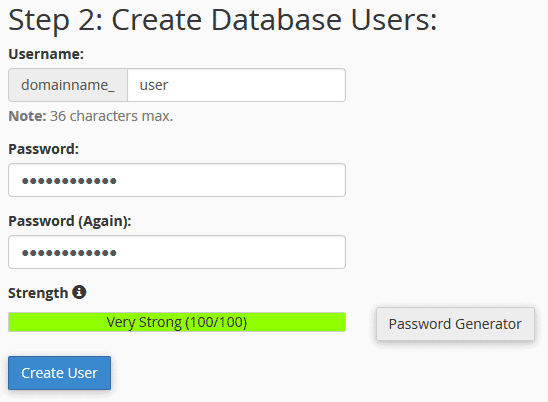
- Create user and password for database
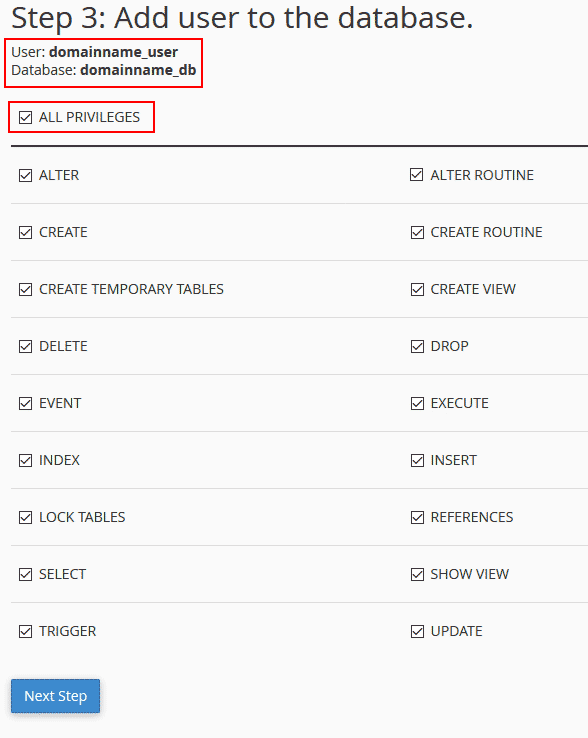
- Click the All Privileges checkbox. Note: make sure you write down the database name, database username and password you've just created. You will need those for the installation process.
Step 2: Download the WordPress installation package
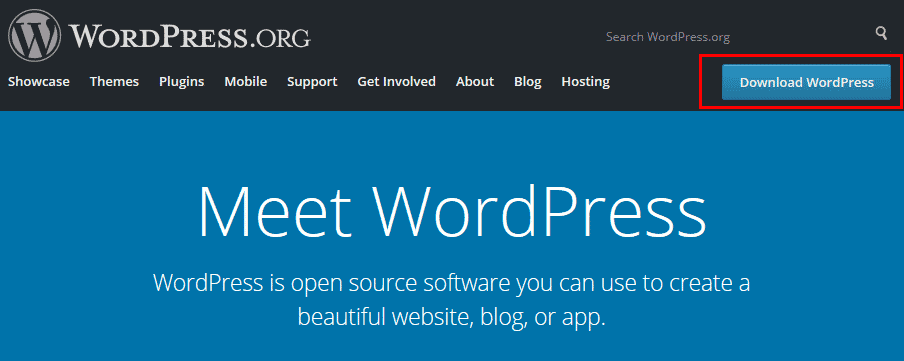
- Download the WordPress package to your local computer from https://wordpress.org/download/
Step 3: Upload the WordPress files to your server
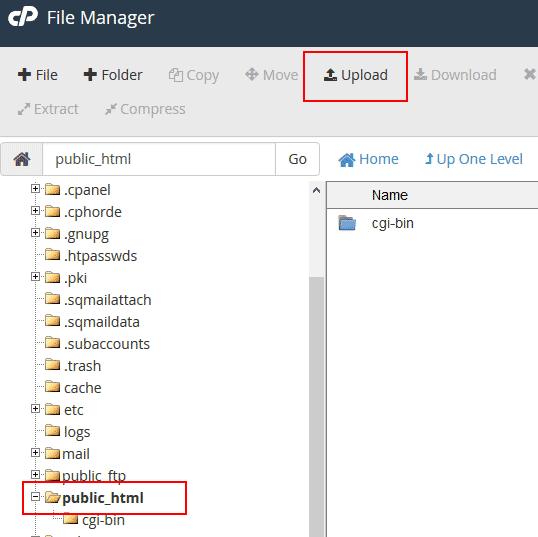
- Open "File Manager" on cPanel
![]()
- Choose "public_html" folder and click on "Upload" to upload installation on server
- We need to extract .zip installation file. Right click on file and select "Extract"

- Files that are unpacked, will be located in the folder WordPress. We need to move all files from folder Wordpress to public_html.
- Open wordpress folder and select all files. Drag an drop files on public_html folder.
- You can nao delet empty wordpress folder and .zip installation file
Step 4: Go through the installation process
- Enter URL of your web site in browser to start WordPress installation.
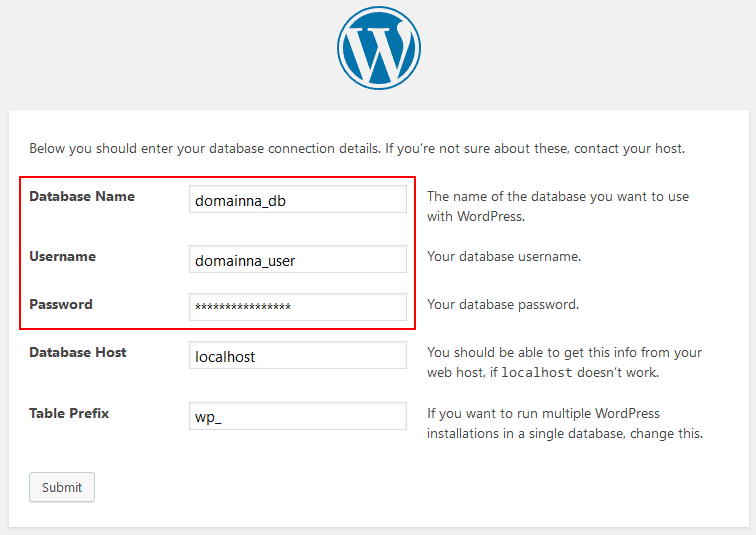
- Enter database name, user name and password for database
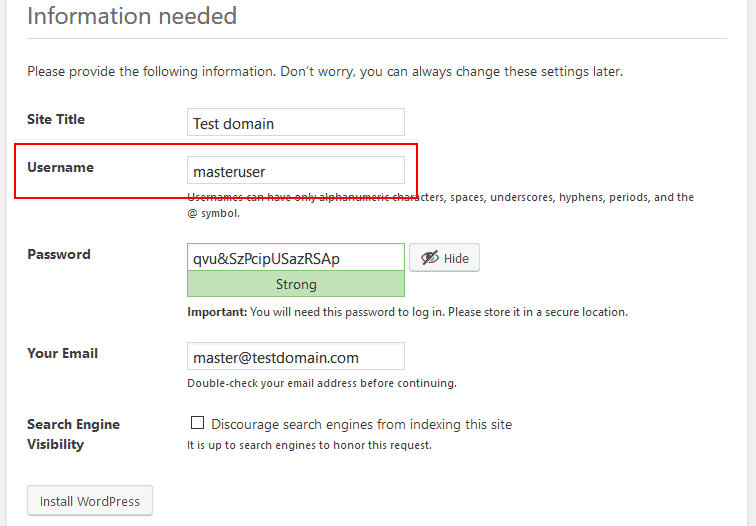
- Enter Site Title (you can change this later)
- Create username for admin panel. Note: Don't use admin for username for security reason.
Congratulations! You have successfully installed WordPress.
