Every registered user has the possibility to invite a new user to his account from the user panel. This means that you will choose who will have access to your panel and what data they will be able to change. It is useful because you can invite multiple people who will have access to different permissions on your panel (eg an accountant will have access to one and a web developer will have access to another data). It is also a good solution for resellers and web developers because they will be able to log into your panel with their login credentials if they already have an account with us. If they don't have one, they will be able to create one.
If you need to change account ownership, contact our support.
- Log in to your user panel
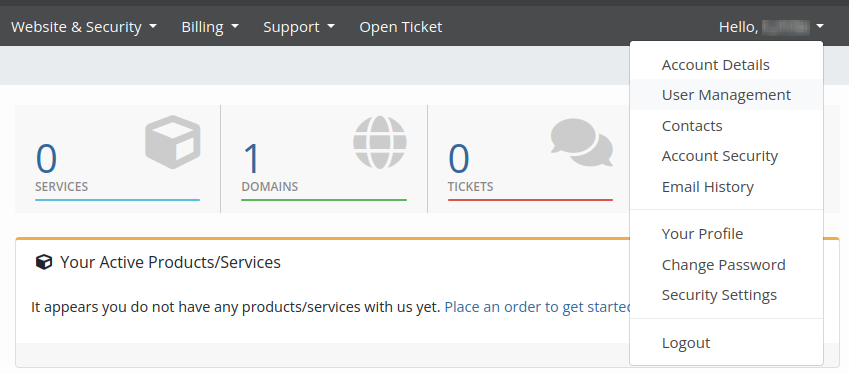
- In the upper right corner, click on the text "Hello, your name"
- Click on "User Management"
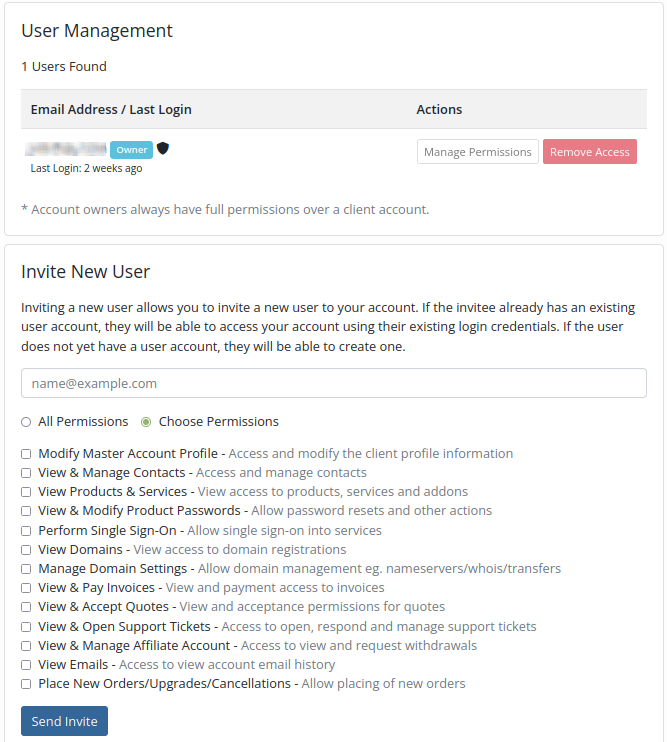
- In the "Invite New User" window, enter the email address of the user you want to invite in the "name@example.com" field
- You can select "All Permissions" or "Choose Permissions"
- If you select "All Permissions", you will give the invited user access to all your user panel data
- If you select "Choose Permissions", you choose which permissions to grant to the invited user
- Modify Master Account Profile - Access and modify the client profile information (note that most of this data can only be changed through our support)
- View & Manage Contacts - Access and manage contacts (allows the invited user to add new contacts to the account who will receive notifications (e.g. invoices, domain expiration notifications, etc.) to their email address)
- View Products & Services - View access to products, services and addons (allows the invited user to see which products and services are active)
- View & Modify Product Passwords - Allow password resets and other actions (allows the invited user to change passwords for e.g. cPanel)
- Perform Single Sign-On - Allow single sign-on into services (allows the invited user to be able to login to cPanel with just one click without entering a password)
- View Domains - View access to domain registrations (allows the invited user to see the domains in your account, but only if the domains are registered with us)
- Manage Domain Settings - Allow domain management eg. nameservers/whois/transfers (allows invited user to change domain details eg nameservers, DNS records, Who-is and domain transfer)
- View & Pay Invoices - View and payment access to invoices (allows the invited user to view and pay invoices)
- View & Accept Quotes - View and acceptance permissions for quotes (allows the invited user to review and accept our eventual offer)
- View & Open Support Tickets - Access to open, respond and manage support tickets (allows the invited user to be able to view, respond and open a new support request)
- View & Manage Affiliate Account - Access to view and request withdrawals (allows invited user to view and manage affiliate details including available funds)
- View Emails - Access to view account email history (allows the invited user to see all account related emails sent by us)
- Place New Orders/Upgrades/Cancellations - Allow placing of new orders (allows the invited user to place new orders, upgrade or cancel them)
- Click "Send Invite", the login credentials will be sent to the invited user
- By clicking on "Manage Permissions" you can change the permissions for a specific user
- By clicking on "Remove Access" you can remove all permissions for a specific user
NOTE: If you are sending the invitation to yourself (in case you want access with a different email), you need to log out of your account first before clicking on the invitation link in the email.
How to access another account?
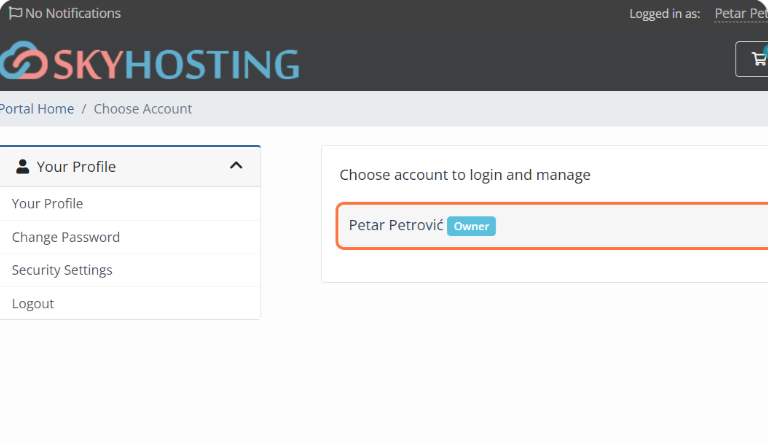
When the invited user confirms access by clicking on the link in the invitation, the account can be accessed from their own user panel by clicking on the icon in the upper right corner Switch Account
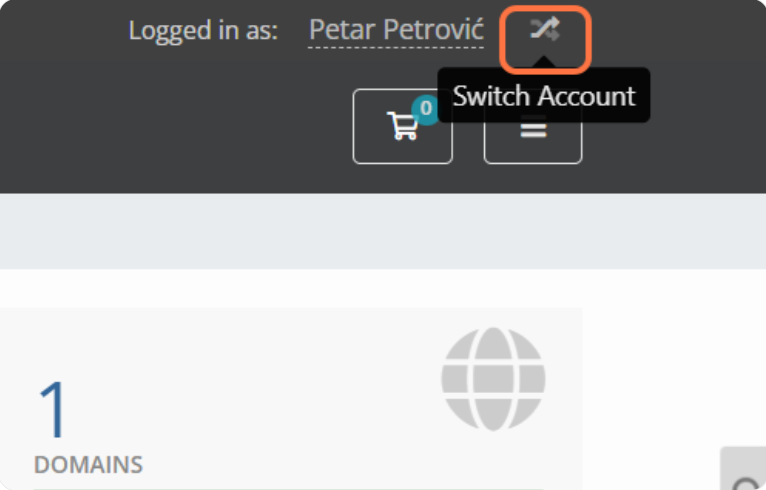
A list of all accounts for which access is available will appear. First on the list is your own account. If there are no other accounts, only the owner account will appear.